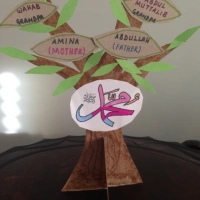
Ramadan Mubarak to all!
Insha-Allah this is our Ramadan calendar for this year. This was made for Ilyaas (6) and Zakariyya (4). Ilyaas Insha-Allah will be attempting to fast for the first time this year. This is their first ever calendar. Ibraheem (10) opted not to have one, reluctantly though.
This calendar is filled with goodies for both the boys. The numbered package for each day consist two sets of treat for each day.
This is how I put the calendar together.
STEP 1 – Goodies { the building }

Goodies for the calendar
There are about 15 packets that has various toys and crafts items. The idea behind it is so as to the boys have little activities they can do during the day, escpecially since it’s summer holiday over here. I also had a few hygiene items; toothbrushes and shampoo. I used recycled containers to hold the various items.
The other 15 packets consists of edible items – candies and Malaysian jellos. These were filled into tofu dessert containers. I have made an entire Ramadan Calendar using tofu dessert containers in the past.
These treats were then wrapped in plain white paper. I drew windows and doors on each packet.
STEP 2 – The background

Recycled boxes with wrapping paper for background
I used some sides of boxes that I had saved. I used whatever wrapping paper I had. The bottom bit was kitchen aluminium foil, I ran out of suitable wrapping paper.
STEP 3 – Creating the skyline
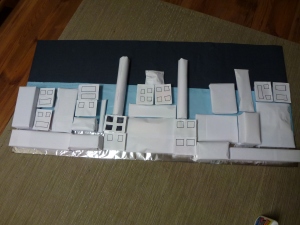
Attempting to make a skyline
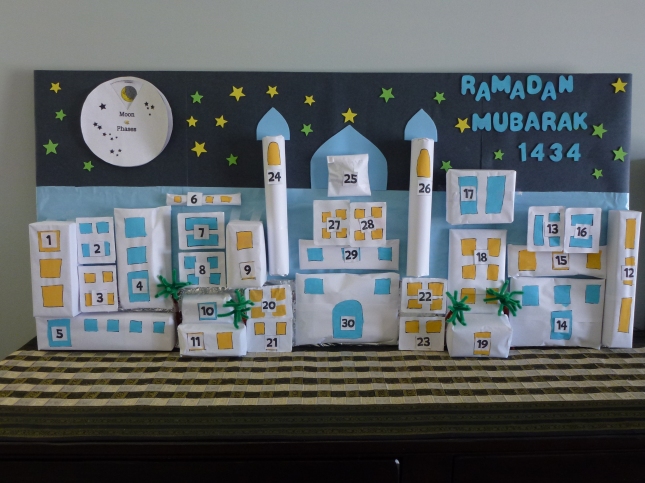
I arranged the 30 packets across to make a skyline. I wanted the masjid to be the centre. I also distributed the goodies and candies evenly.
Once happy with the skyline, attach the packets onto the board.
STEP 4 – Adding calendar numbers and some decorative details
CALENDAR NUMBERS – I got my calendar numbers from here. I placed the numbers with the idea that the masjid pieces will the the last ones to go.
STARS – I added some foam stars for the sky.
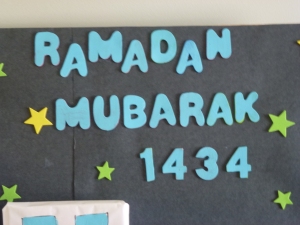
Mismatched coloured foam letters painted to match
GREETING – These were foam letters. I had mismatched colours. I painted them to match the background.
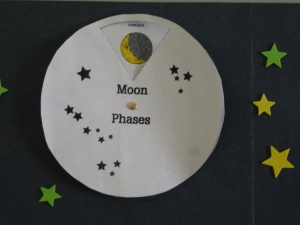
Moon phases wheel
MOON PHASES – The moon cycle wheel was from here.
WINDOWS & DOORS – I opted to paint the window and door details at this point.
MASJID -The dome details were from cut out foam.
PALM TREES – These were made using pipe cleaners. You can get the instructions here.
I placed the calendar on a hutch in our living room. The weight of everything and the fact that the background is cardboard does not make it very suitable for hanging. I found out the hard way trying to put it up on a wall :(.
If you want to hang it up, I would suggest using a sturdier material for the background. And maybe super gluing the buildings.